This article is now obsolete since Scientific WorkPlace, Scientific Word, and Scientific Notebook Version 6 no longer use the WMF2EPS printer driver to convert EMF and WMF graphics. They now use the Inkscape graphics program for those, and other, conversions. Users of versions 5.5 of our products can still use the wmf2epsc program to produce EPS files from WMF and EMF graphics. This is normally not necessary unless you are coauthoring a paper with someone who does not have a version of SW or SWP, in which case he or she will prefer EPS graphics to EMF.
Scientific WorkPlace, Scientific Word, and Scientific Notebook Version 6 use the wmf2epsc program to convert Windows metafile graphics to Embedded PostScript graphics. This clever utiltity uses a generic PostScript printer driver provided with Windows to 'print' to a PostScript file.
More technically, the program installation installs a 'printer' without hardware that uses the Windows PostScript driver. To install a printer on Windows, you need an installer file, with the INF extension, to specify the details of the installation. A .zip archive file containing the wmf2eps printer driver files can be downloaded here.
Beginning with Windows 8, Windows requires that this installer file be digitally signed. This measure is meant to reduce the possibility of users mistakenly installing a malevolent printer implementation. The publicly available wmf2eps installation file is not signed, and so fails to install. To correct this problem, beginning with version 6.0.11 of our products, we include a signed installer. Installing the virtual 'printer' still requires some manual steps, and this document will guide you through those steps.
This guide is illustrated with screen shots from Windows 10. Windows 8 is similar.

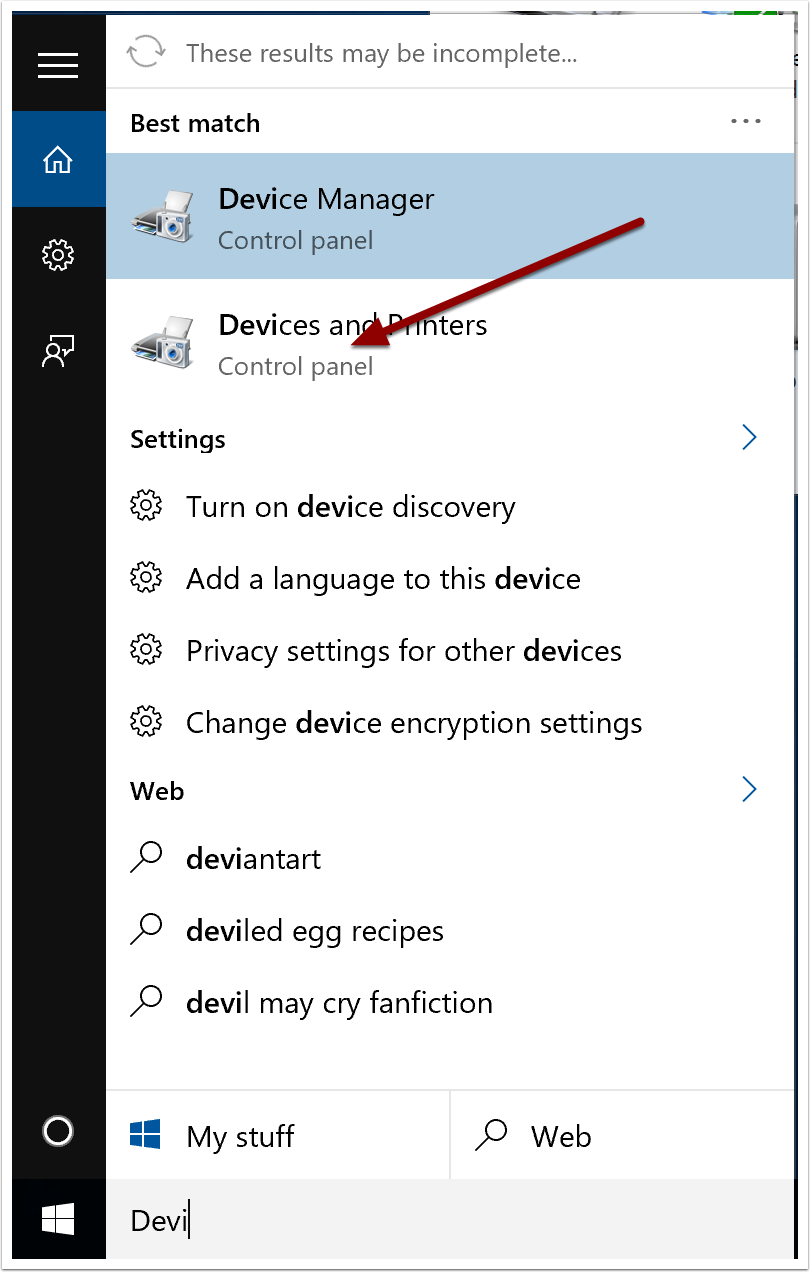
1. Display the 'Devices and Printers' panel of the Control Pane.
Choose your preferred method. This screen shot below illustrates using the search field next to the start button.
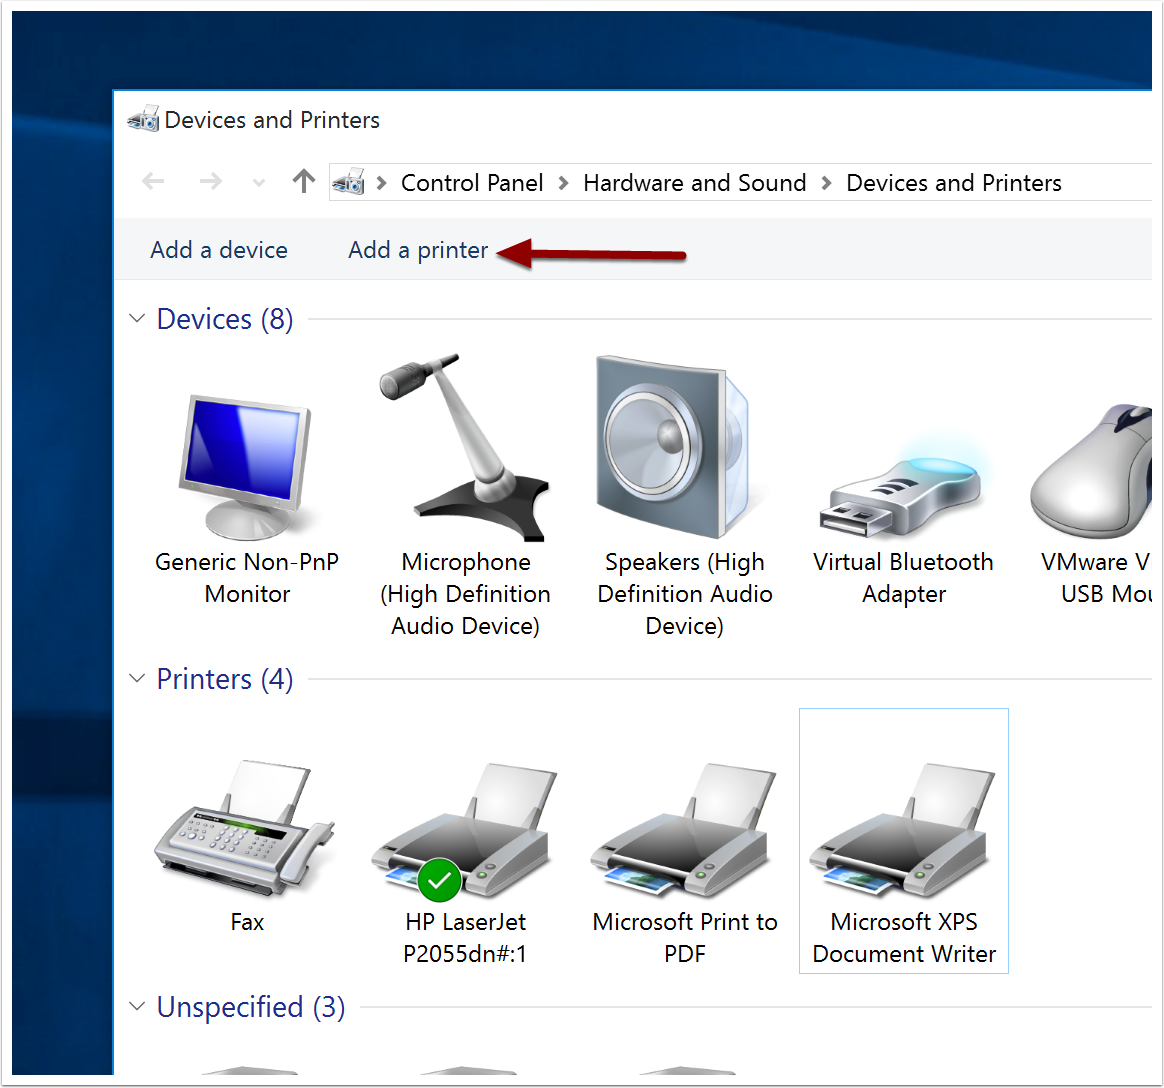
2. Click on 'Add a printer'.
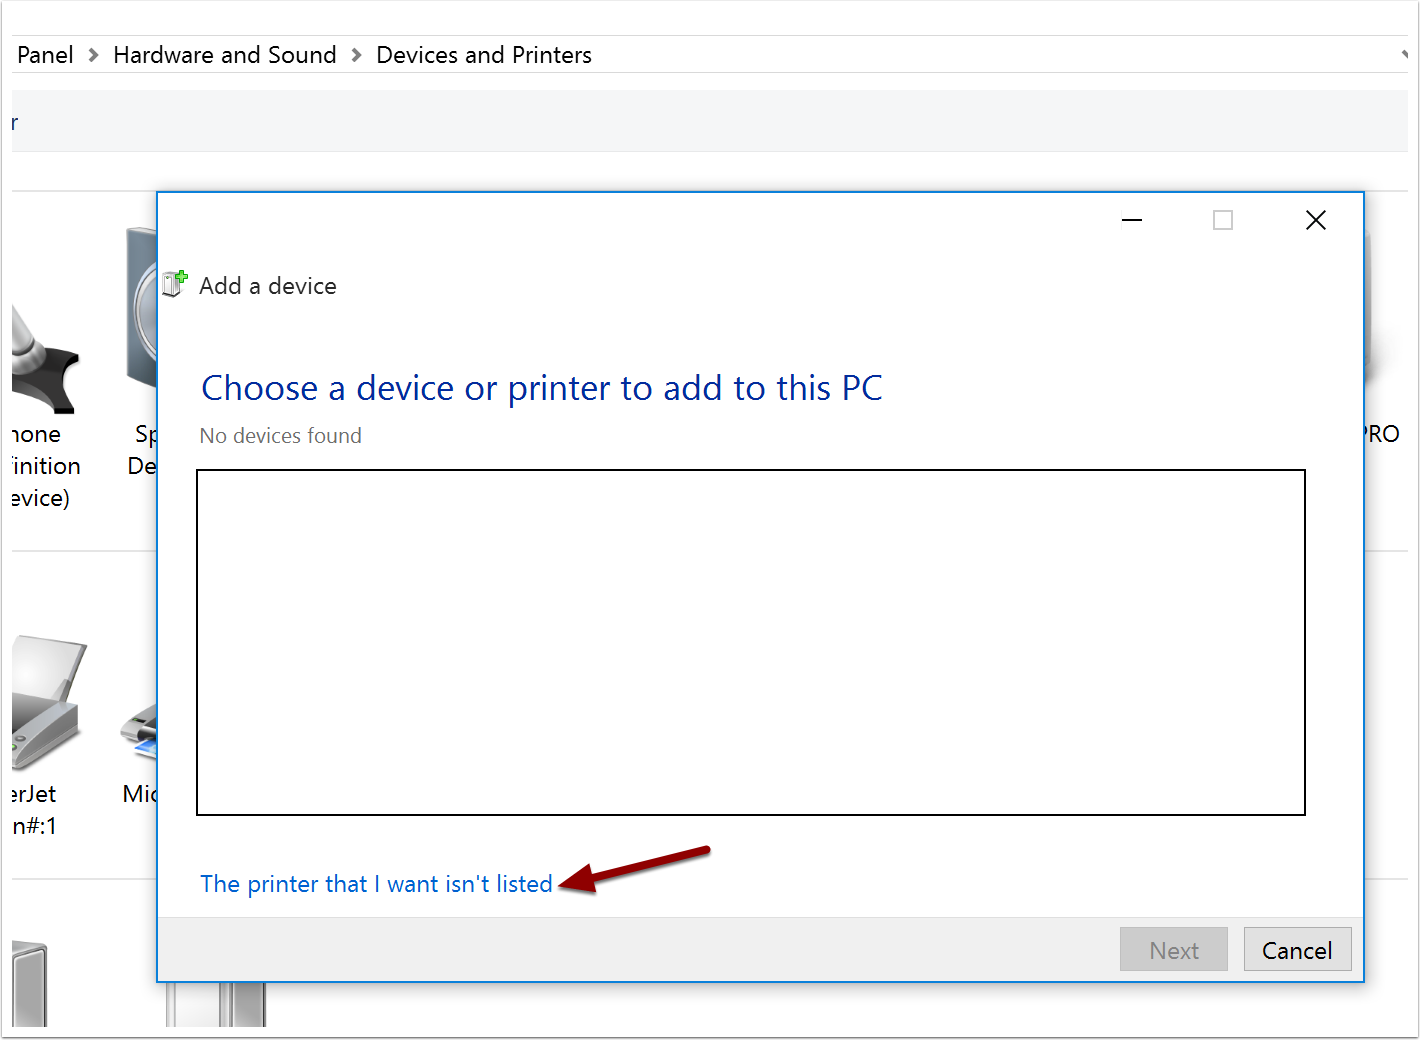
3. Click on 'The printer that I want isn't listed'.
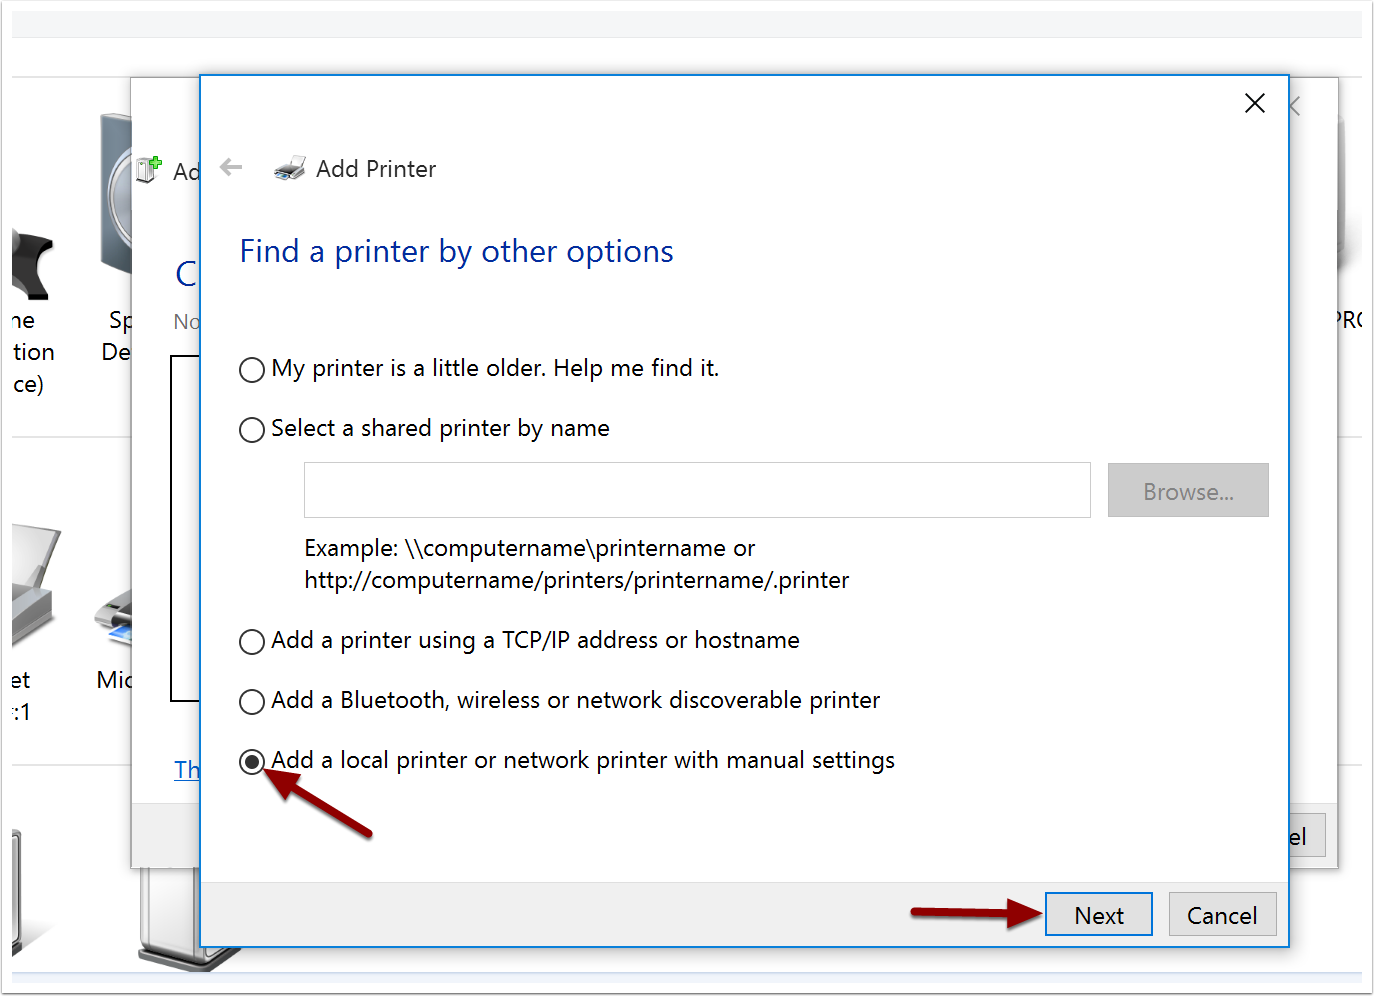
4. Select the 'Add a local printer or network printer with manual settings' and click on 'Next'.
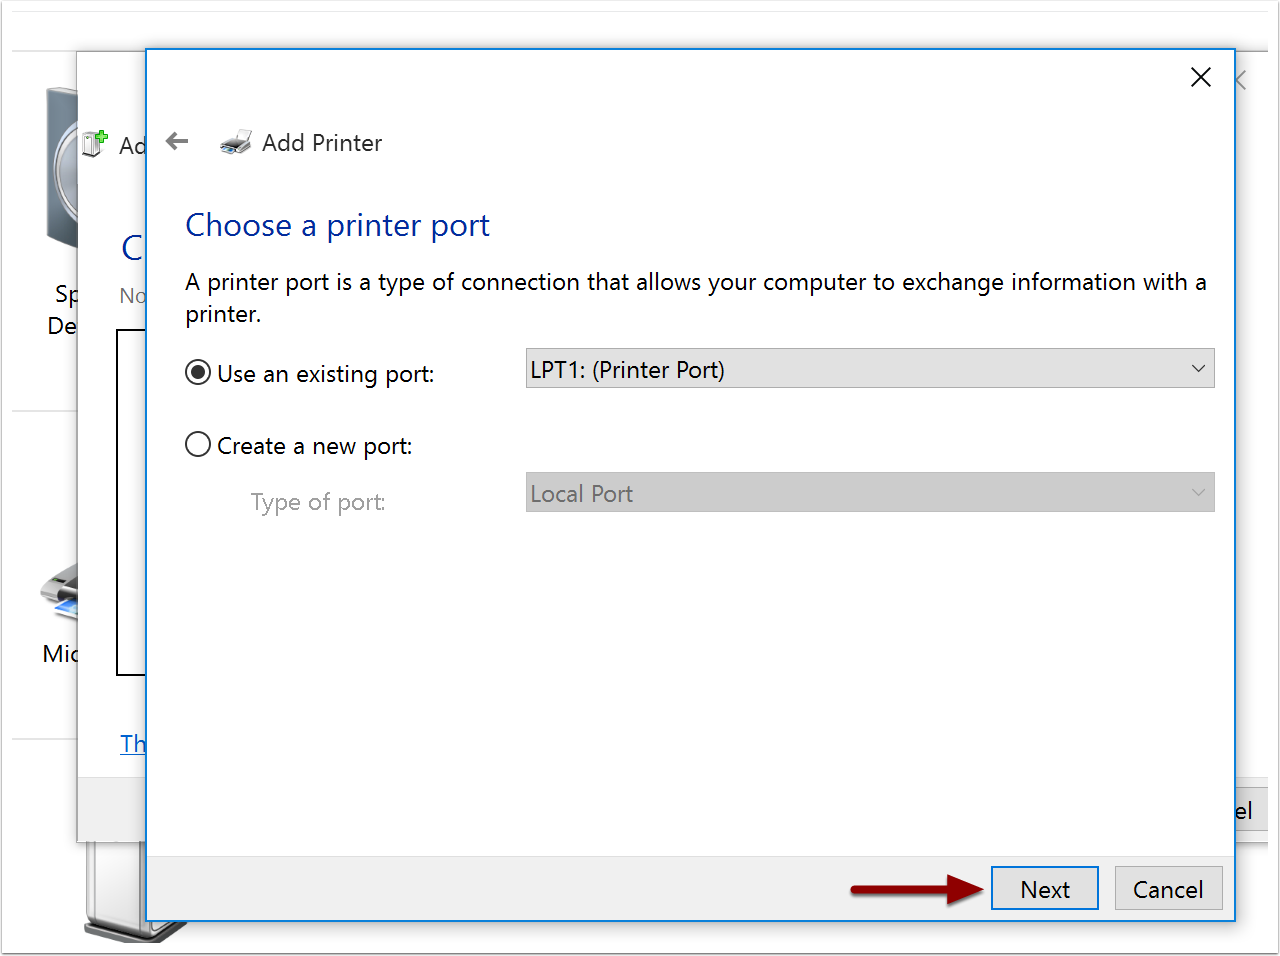
5. Click 'Next' again.
You do not need to choose a printer port.
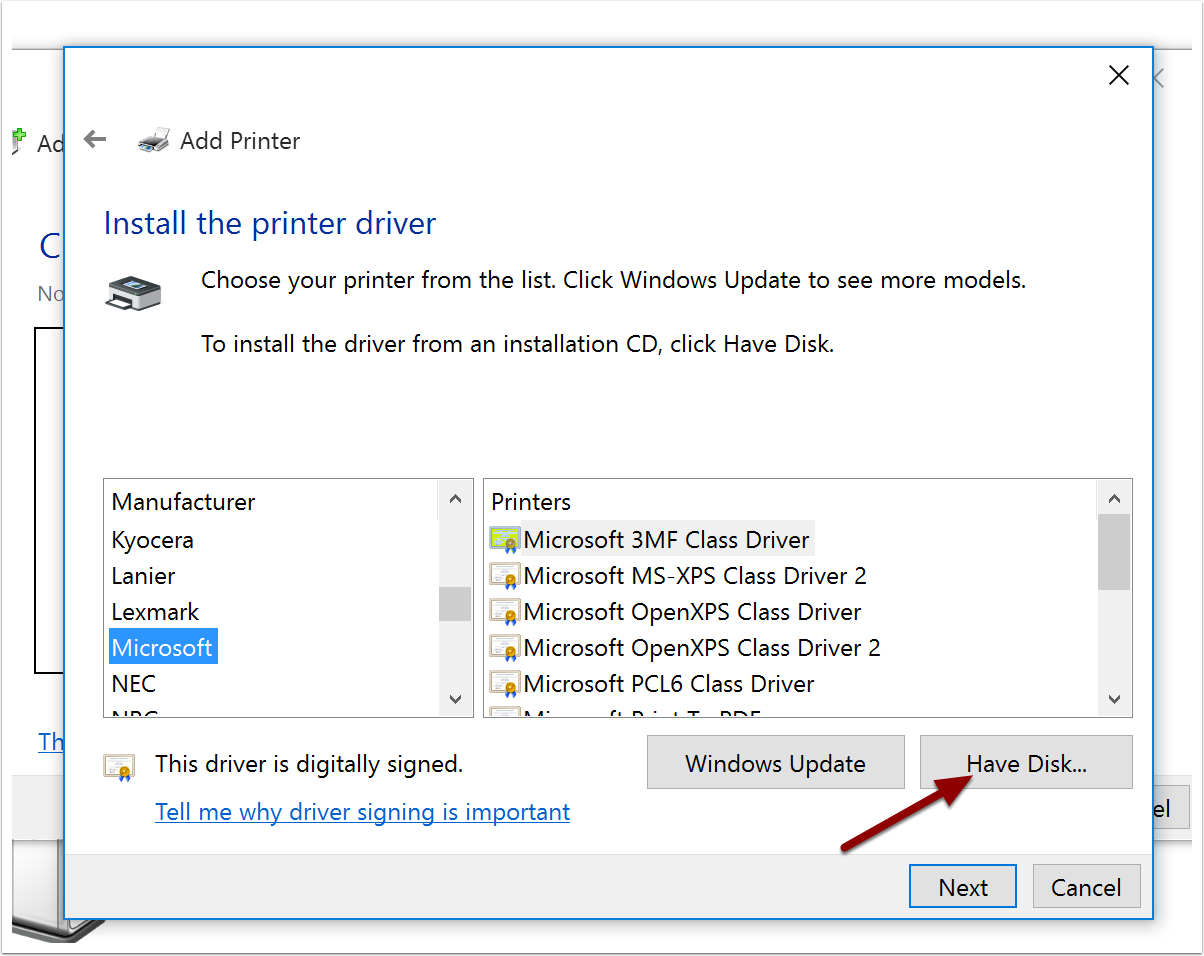
6. Click on 'Have Disk...'
The driver we want is not in the list.
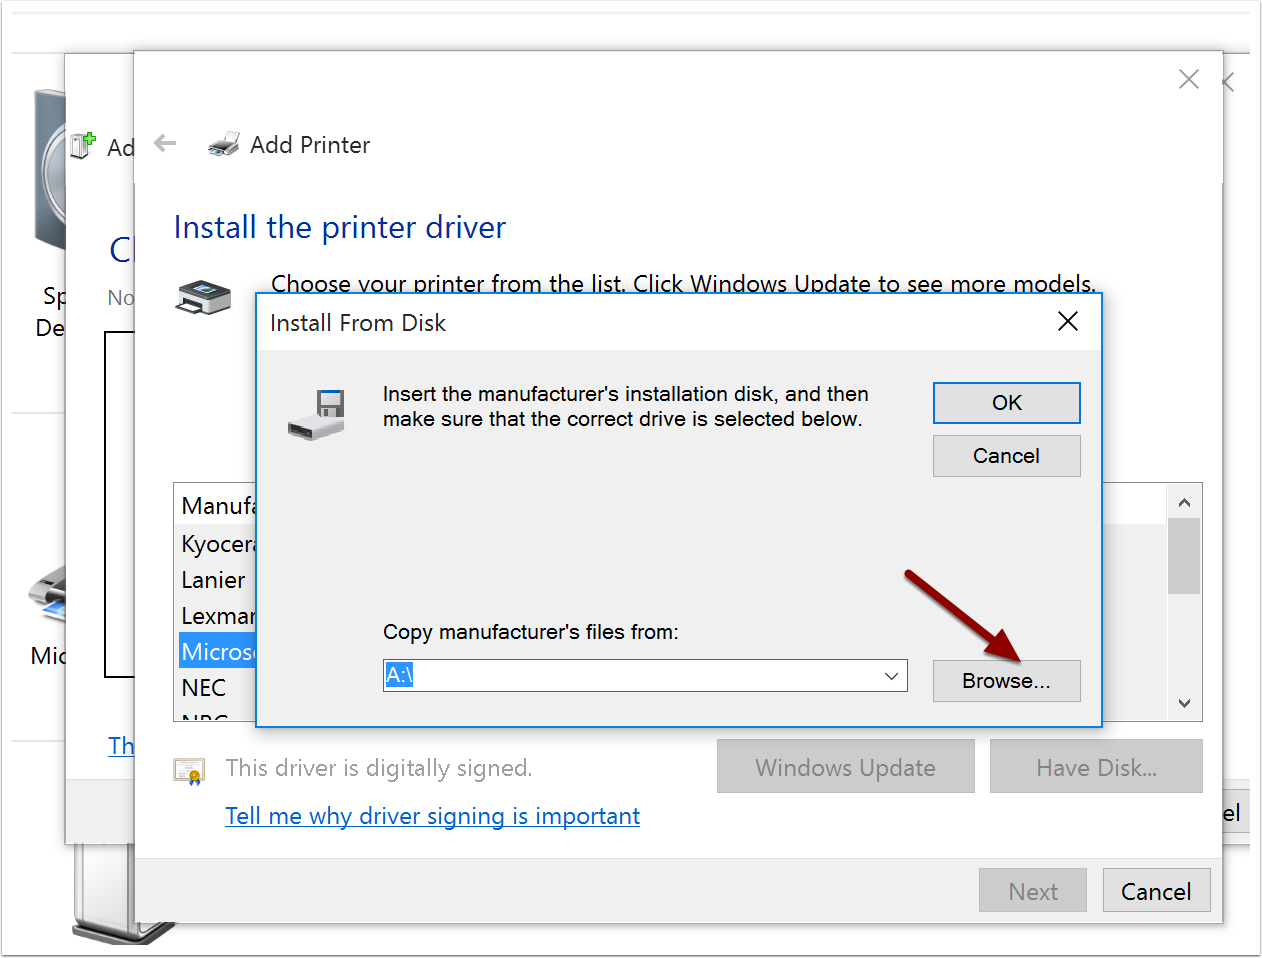
7. Click on the 'Browse' button...
and navigate to C:\Program Files (x86)\MacKichan\SWP\Utilities.
The above path is for Scientific WorkPlace. The directory will be SW or SNB for Scientific Word or Scientific Notebook.
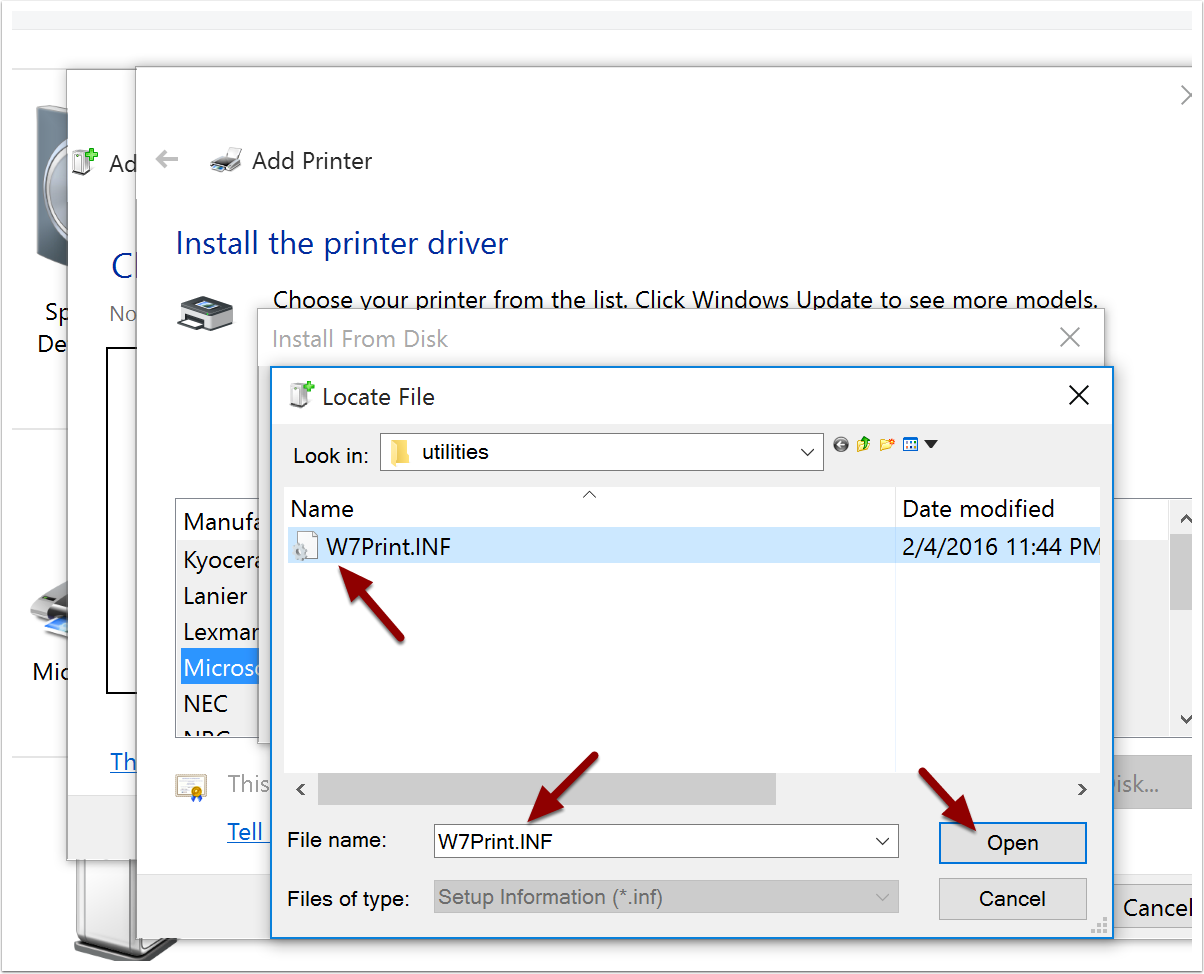
8. Click on W7Print.INF to put it into the File name field. Press 'Open'
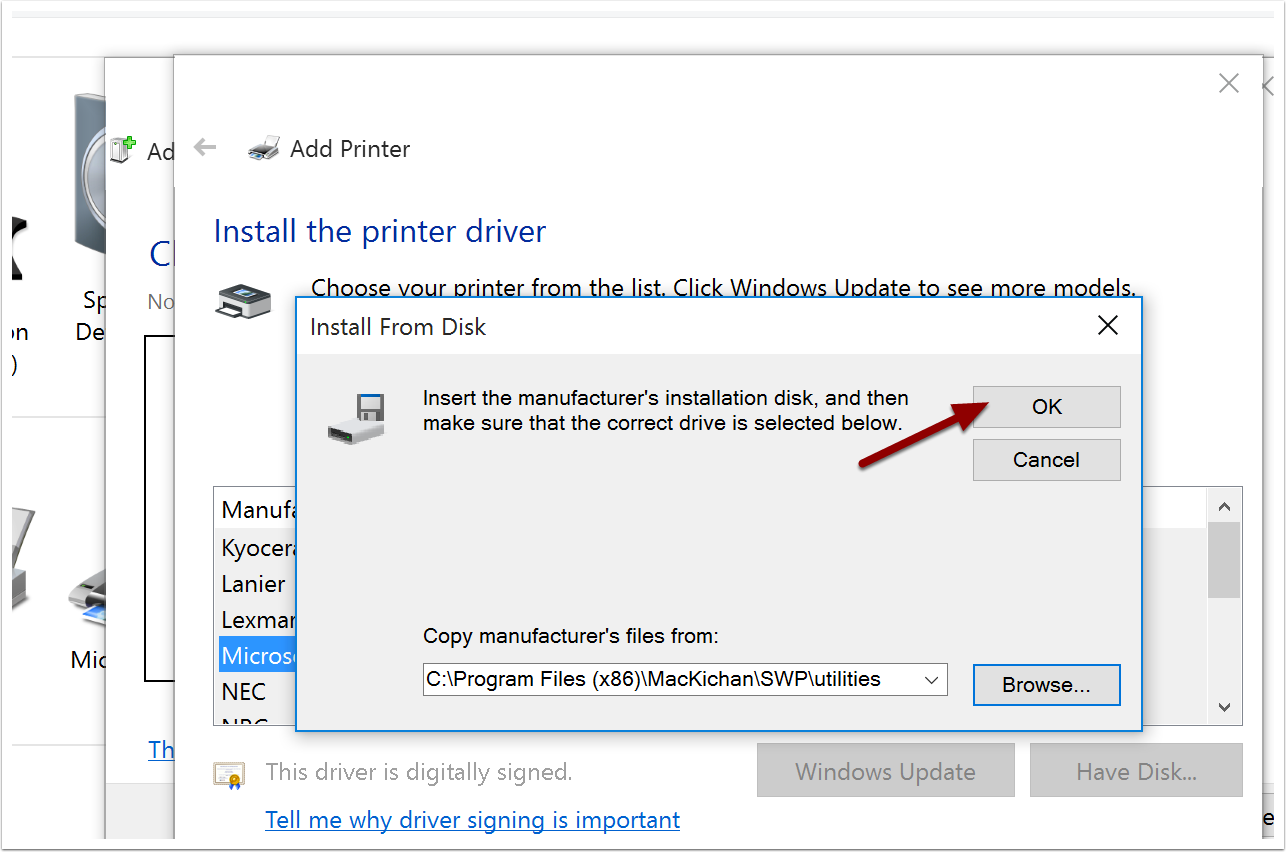
9. Press OK.
You have returned to the 'Install From Disk' dialog, and the file location has been filled in.
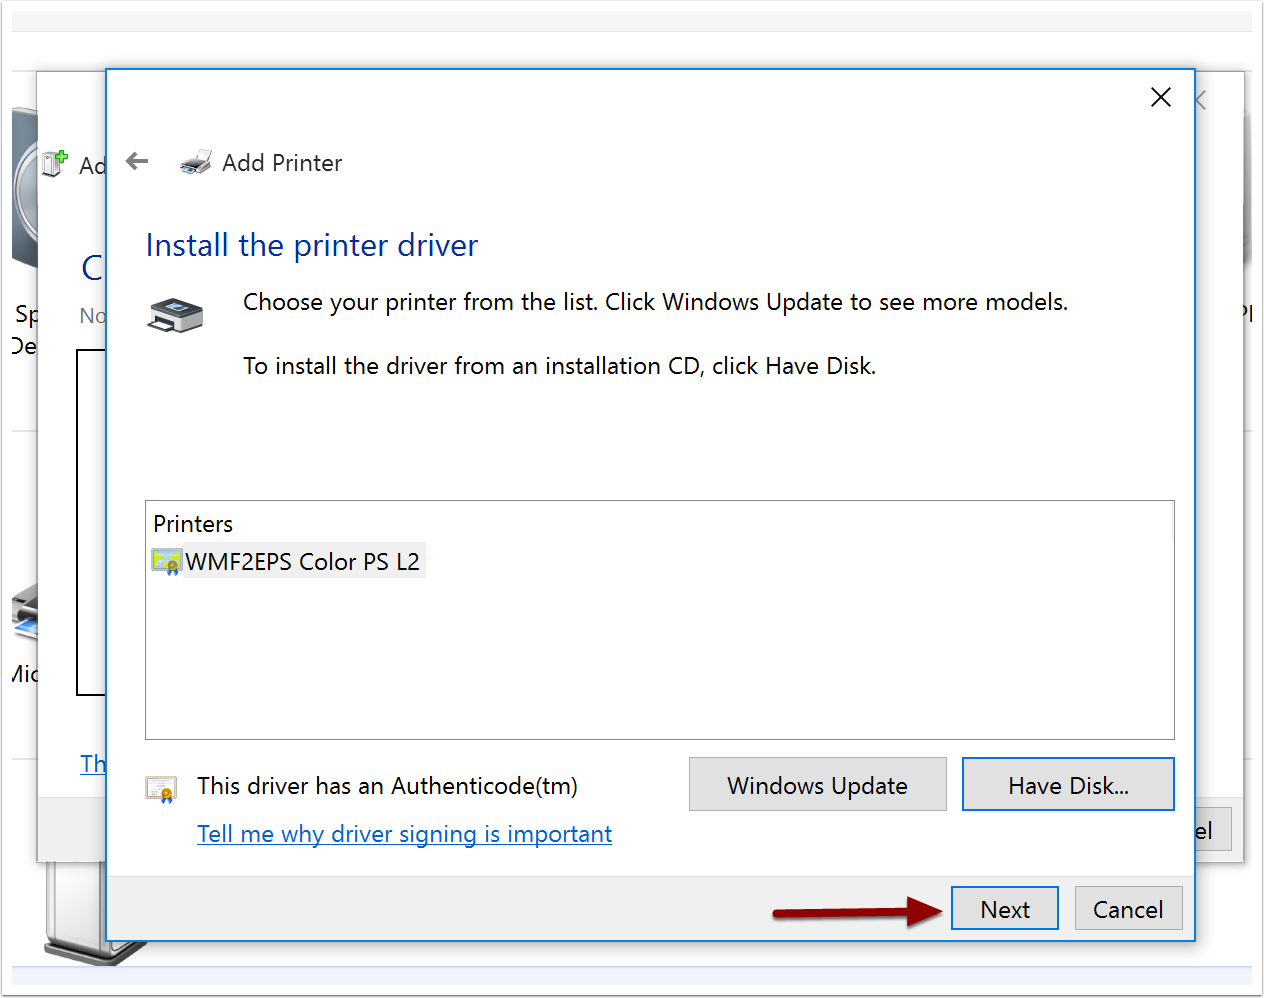
10. Click 'Next'
The WMF2EPS Color PS L2 printer driver is selected, and there is a notice that the driver has an Authenticode, which means it has been digitally signed.
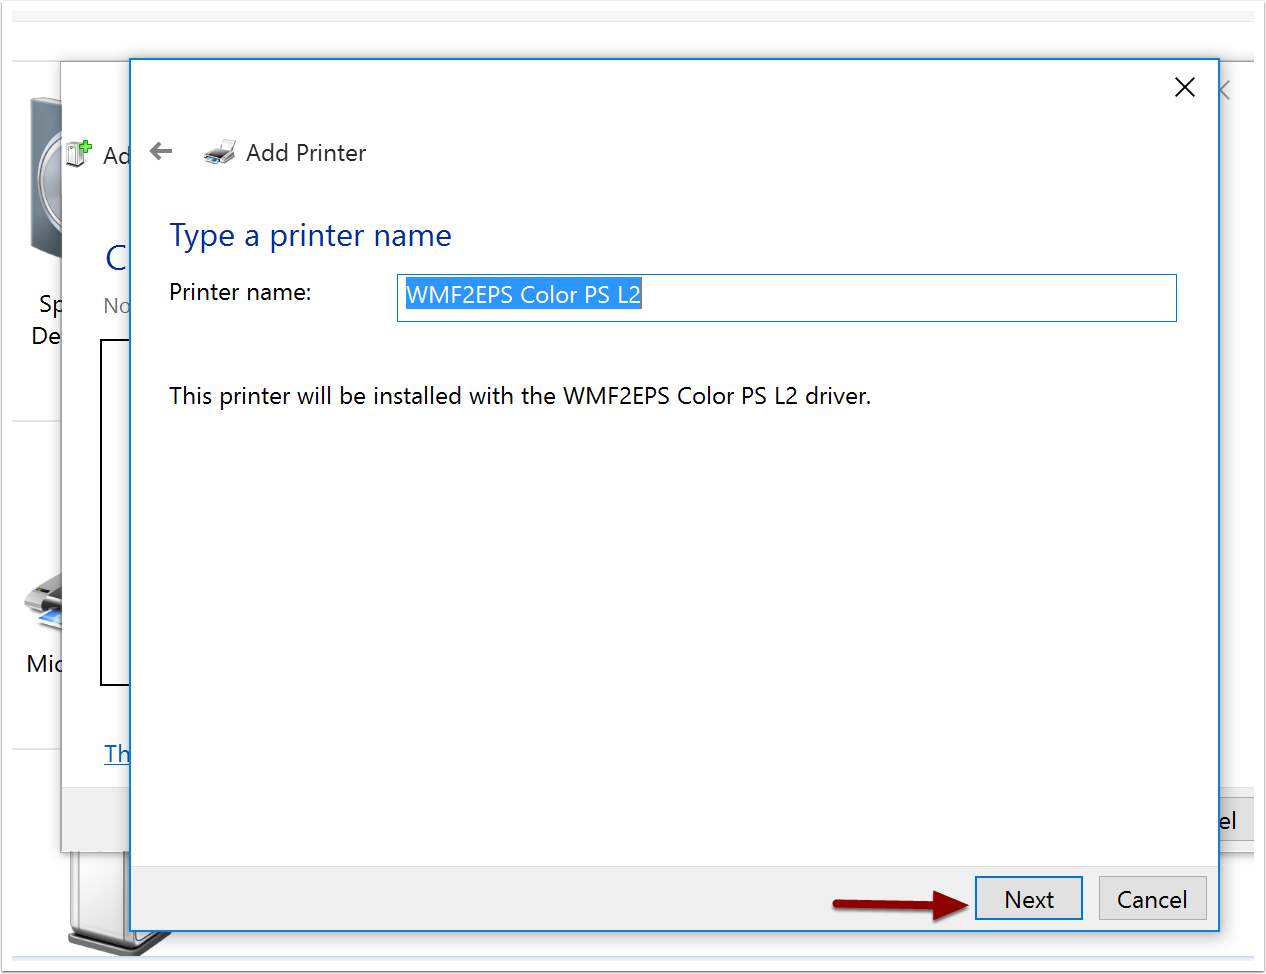
11. Leave the printer name unchanged and click 'Next'
If you are asked to use an existing driver or replace it, choose Replace. This choice should not appear if this is the first time you have installed this driver.
12. Finish the printer installation by clicking 'Next' a few times
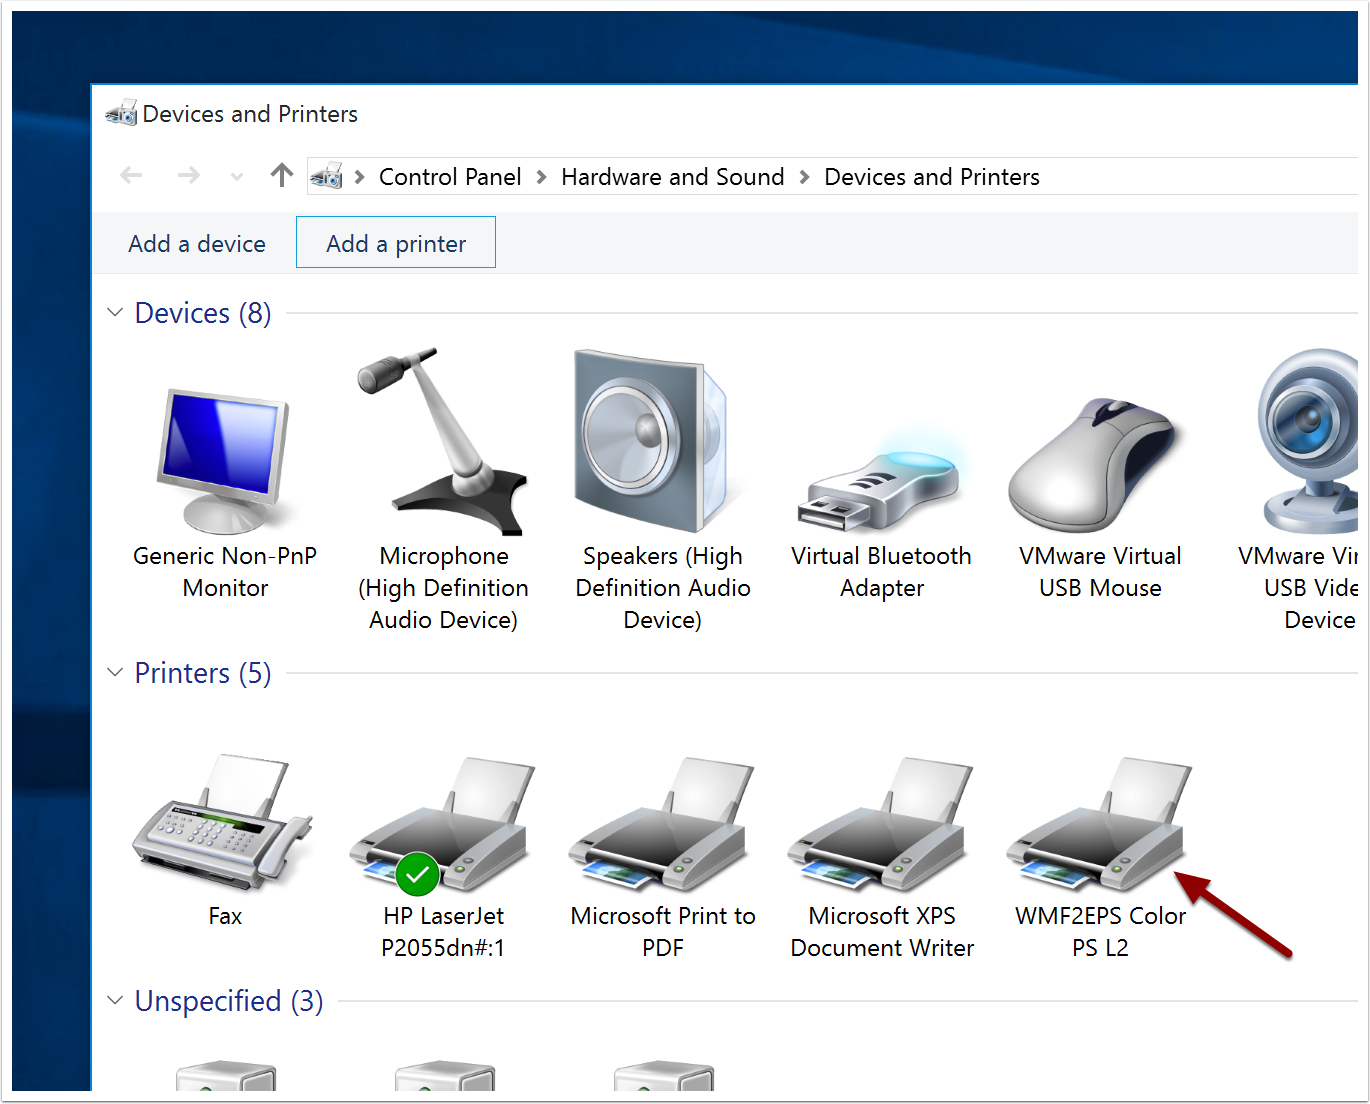
You don't need to share the driver. Do not make it the default. Do not print a test page. You should return to the 'Devices and Printers' panel which should show a new 'WMF2EPS Color PS L2' printer.
13. DON'T QUIT YET! There is one more essential task.
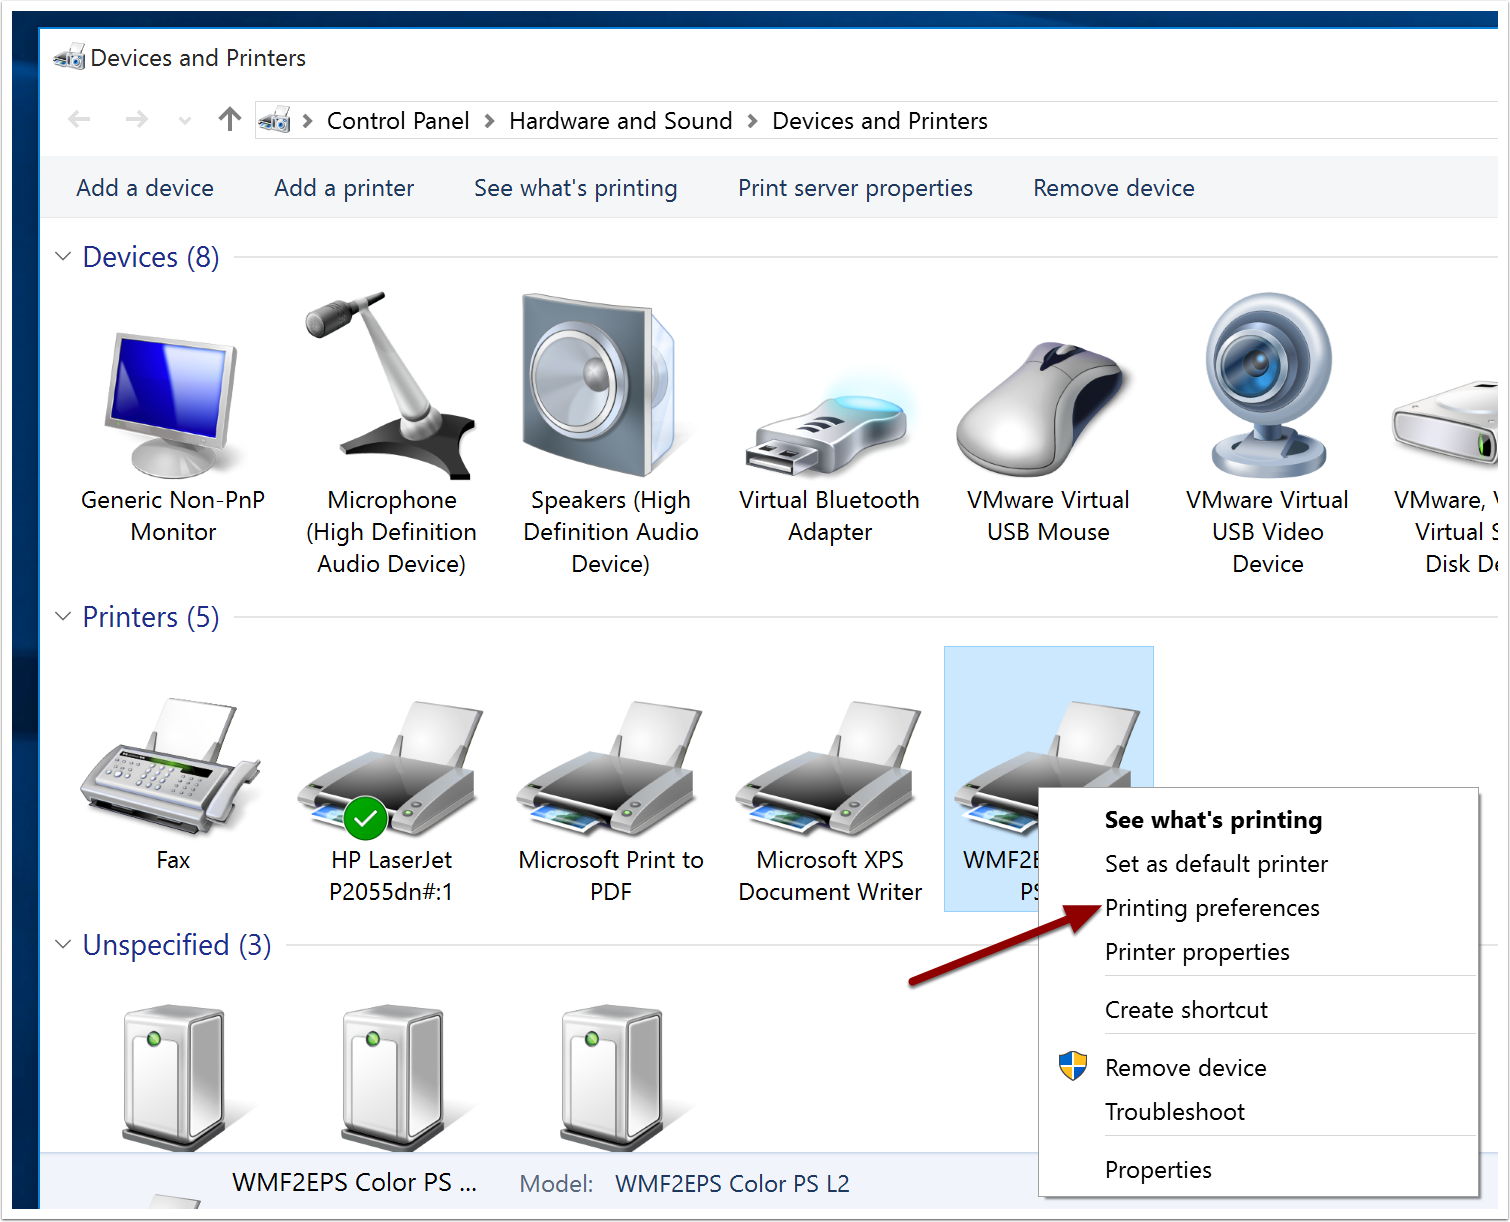
Right click on the new printer and select 'Printing preferences', the third item on the context menu.
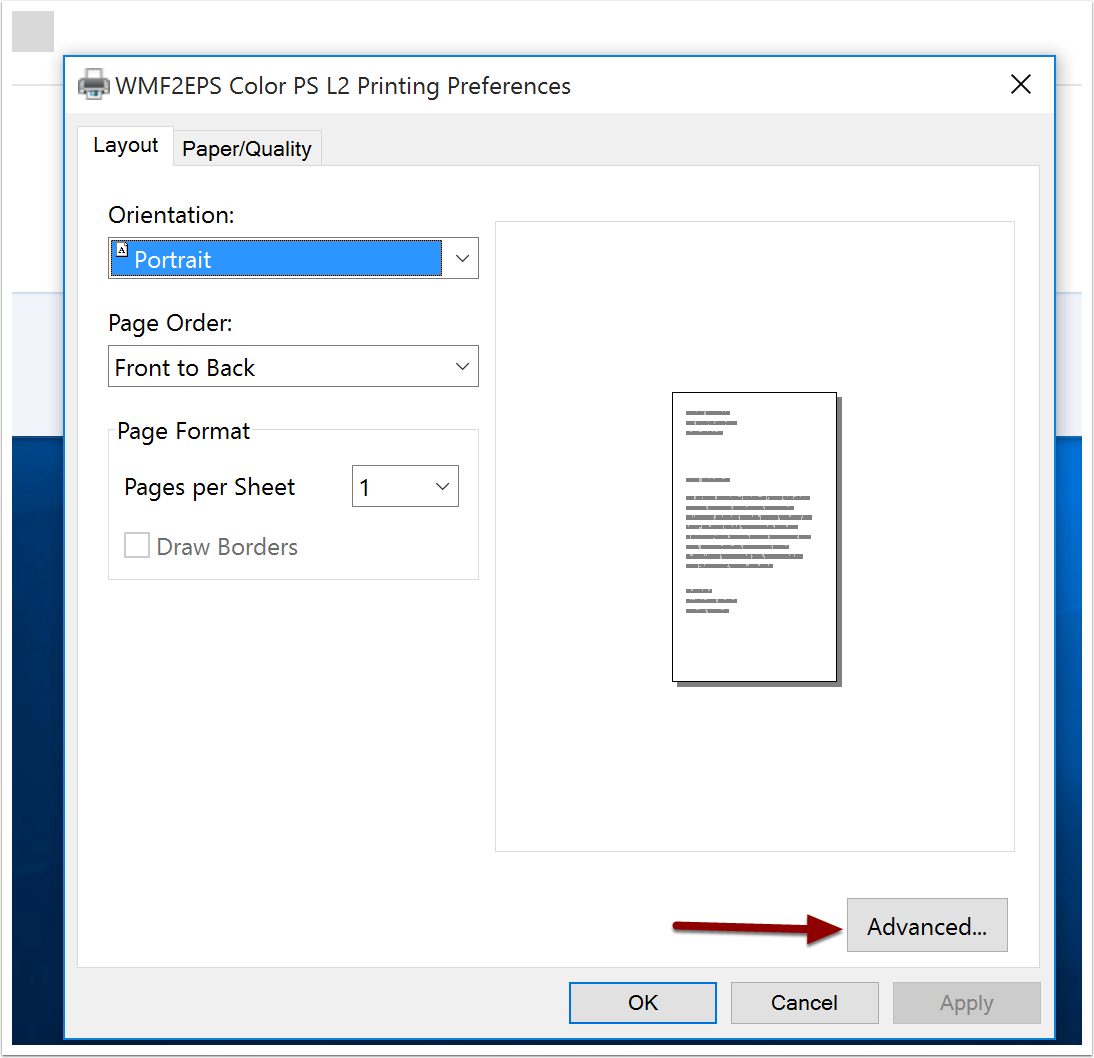
14. Click on 'Advanced...'
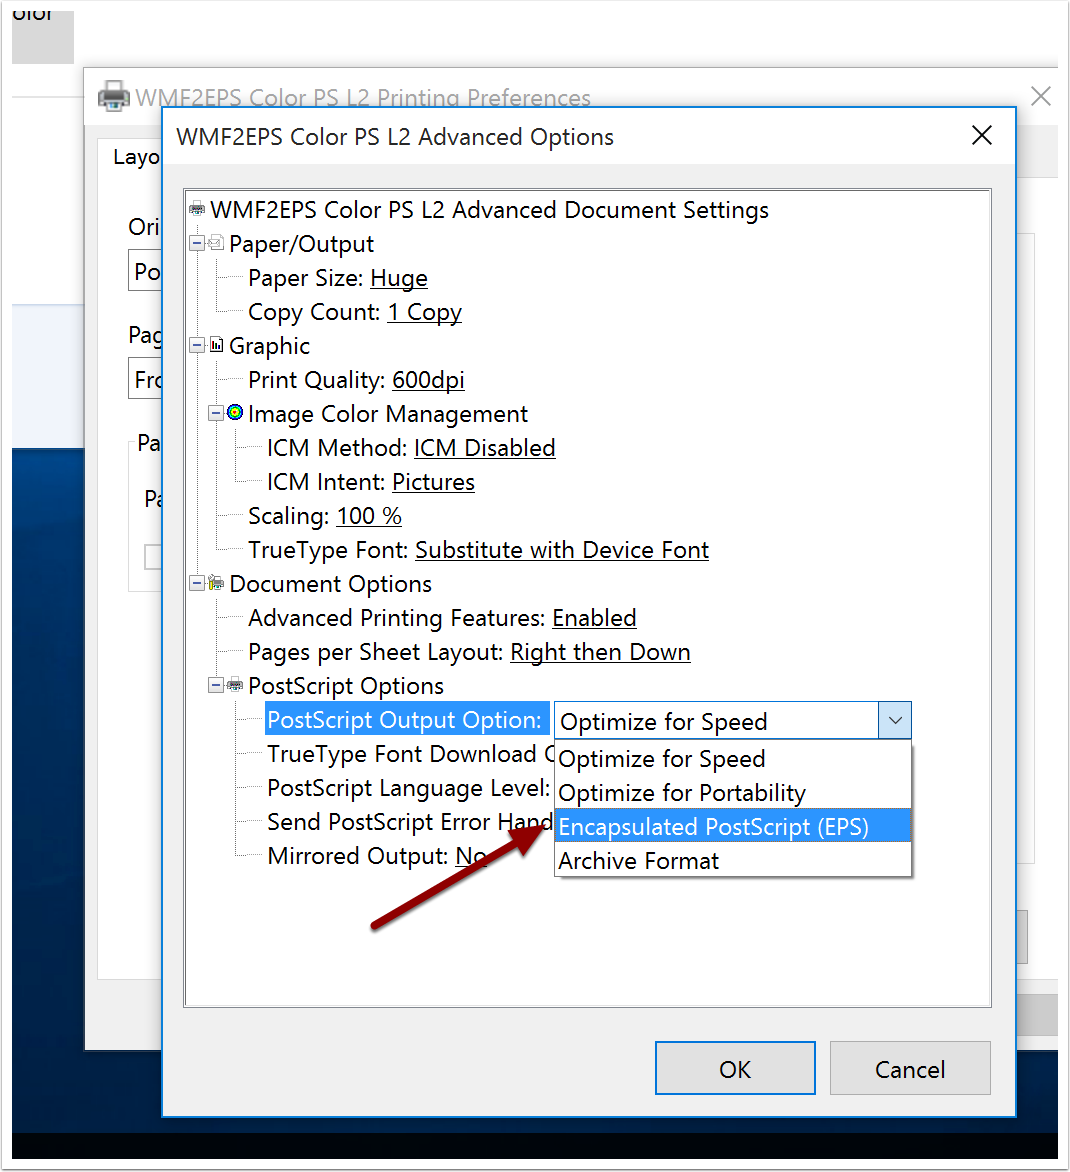
15. Click on the '+' to the left of 'PostScript Options'

16. In the dropdown menu for 'PostScript Output Options', select 'Encapsulated PostScript (EPS)'
17. Now you are done.
Press 'OK' enough times to get out of the dialogs and close the Control panel
You should now be able to see WMF and EMF graphics in Version 6. and importing Version 5.5 TeX files containing WFM and EMF files should succeed smoothly.